
We all know the drill - you spend hours researching flight prices, destinations, accommodations, tourist hotspots, things to see and what to do.
For many people, time spent traveling comes and goes much too quickly, but great pictures can last a lifetime. If you want to relive the spectacular moments you scrimp and save for, leave prepared to capture the priceless memories you encounter on your journey.
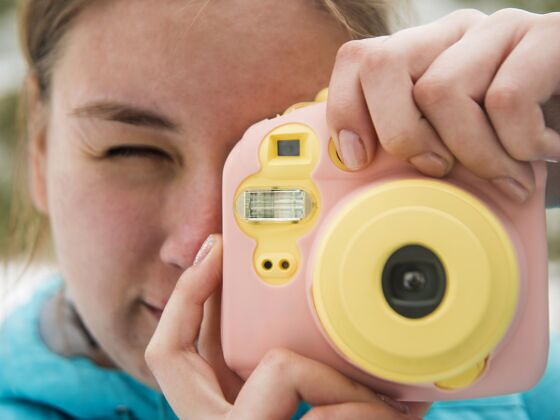
Success comes with knowledge and practice. Snapping travel pictures that will do your trip justice is a learned skill – so do your homework before you leave. Take a peek through your camera manual and learn how to operate all of the functions. Understand its strengths and limitations before you head out to shoot.
Imagine beforehand the things you’ll do and photographs you’ll take before you arrive at your destination. Then again, don’t rule out the adventure of feeling out a location for the perfect photo.
Below are five tips that will guide you in your way to take better photos for lasting memories.
1. Use Flash Outdoors
Most people consider flash to be an indoor thing – to be used only under low light conditions. Using flash outdoors, however, can bring a new dimension to your photography. Depending on how high and how strong the sun is, the light can create harsh shadows in everything from people to statues to cool architectural buildings you wish to capture.
Eliminate the shadows by using your flash to fill in the dark spots of your subject while still keeping the rest of your photo intact.
When taking pictures of people on sunny days, turn your flash on, especially if the sun is behind them. This will prevent the person from being completely in silhouette while the rest of the image is bright. On cloudy days, experiment between using flash and no-flash. The flash will brighten up people’s faces and make them stand out.
On the other hand, try taking a picture without flash, because overcast days act like a huge softbox, diffusing rays and casting a soft glow on subjects.

2. Move in Close
When photographing a person or something roughly the same size as a person, take a step or two closer before taking the picture and zoom in on your subject. Your goal is to fill the picture area with the subject you are photographing.
Up close you can reveal telling details, like the textures on a brick wall or freckles on a person’s face. Don’t get too close, however, or your pictures will be blurry. Most cameras have a focal length of about three feet, or approximately one step away from your camera.
If you get closer than the closest focusing distance of your camera (see your manual to be sure), your pictures will be blurry.

3. The Rule of Thirds
The middle is a great place for an entertainer to be. However, the middle of your picture is not always the best place for your subject. Bring some added dimension to your photo by simply moving your subject away from the middle of your picture.
Imagine a three by three grid in your viewfinder and position your subject within one of the intersections of these lines. This technique is also referred to as ‘;The Golden Mean.’ You’ll need to lock the focus if you have an auto-focus camera because most of them focus on whatever is in the center of the viewfinder.

4. Vertically Challenged
Are you or your camera vertically challenged? If you have never turned your camera sideways to take a picture, you’re missing out! All sorts of things look better in vertical. From a lighthouse on the edge of a cliff to the Eiffel Tower blazing with lights to your dog splashing around in a puddle.
Next time out, make a conscious effort to turn your camera sideways and take some vertical pictures. It also helps to use the same Rule of Thirds (see above) and place the horizon either in the top or the bottom third of the frame. You’ll be pleasantly surprised with what you see.

5. From Dawn til Dusk
Aside from the subject, the most important part of every good photo is the amount (or lack of in some cases) of light. Good lighting affects everything about the appearance of a shot.
In a photograph of your best friend standing in front of the Louvre, bright sunlight from the side can enhance wrinkles and any imperfections. Soft light on a cloudy day however, can subdue those same imperfections and allow for a softer, more flattering photo.
What happens if you don’t like the light on your subject? Simply move yourself or your subject. For immobile things like landscapes, statues, and buildings, try to take your your pictures early or late in the day when the light is long, deep orange and splays itself across the enviroment.

Naomi Liu is a graphic artist and freelance photographer gaining inspiration from her surroundings, traveling in her free time and being a sponge to the environment. Visit her personal website www.naomiliu.com
Have any more basic travel photography tips? Please share them in the comments!
About the Author
Related Posts
10 Comments... join the discussion!
-
-
Hi kath, glad you like the tips! Come back and let us know if you notice an immediate improvement in your photography.
↵ -
Great basic tips! I might add that there are many experiments you can try without flash too even in very low light conditions if you play with your shutter exposure and use a tripod. I love the natural light that comes from this. Unfortunately, my camera sometimes washes out colors harshly with the flash on. I took some cool night shots of Guadalajara by turning off the flash for example: http://www.travelblogs.com/dougdo/guadalajara_liveable_city.htm
↵ -
Doug, great additional tip. Your night shots of Guadalajara turned out awesome! I agree, some of the more powerful flashes end up washing out the colors, or overly brightening the image. On the other hand, unless you play with the exposure time, I find my pics turn out blurry if the light is too low.
↵ -
Simple yet very important photo tips! As a traveler, I would always want to give justice to the beautiful places I have been to. Thanks for sharing!!
↵ -
ha, i thought you’d appreciate that tim.
↵ -
http://www.hp.com/united-states/consumer/digital_photography/take_better_photos/index.html
Take Better Photos
Tips and techniques from HP Digital Photography to improve your digital photos and make them stand out in your photo album.
↵


